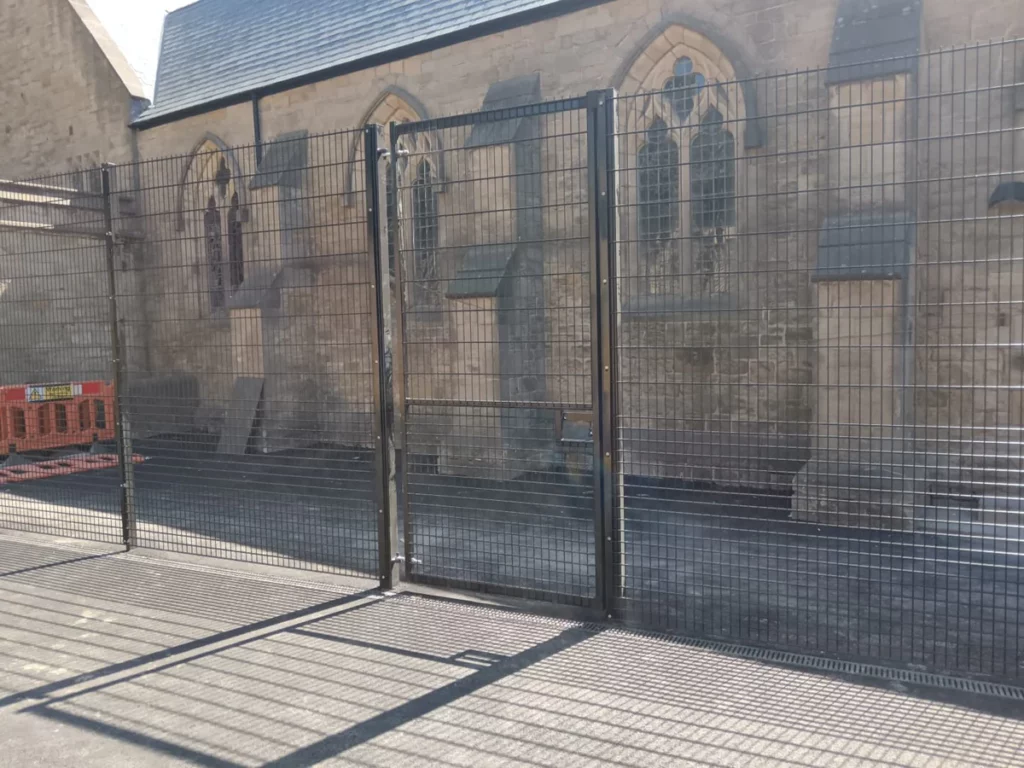
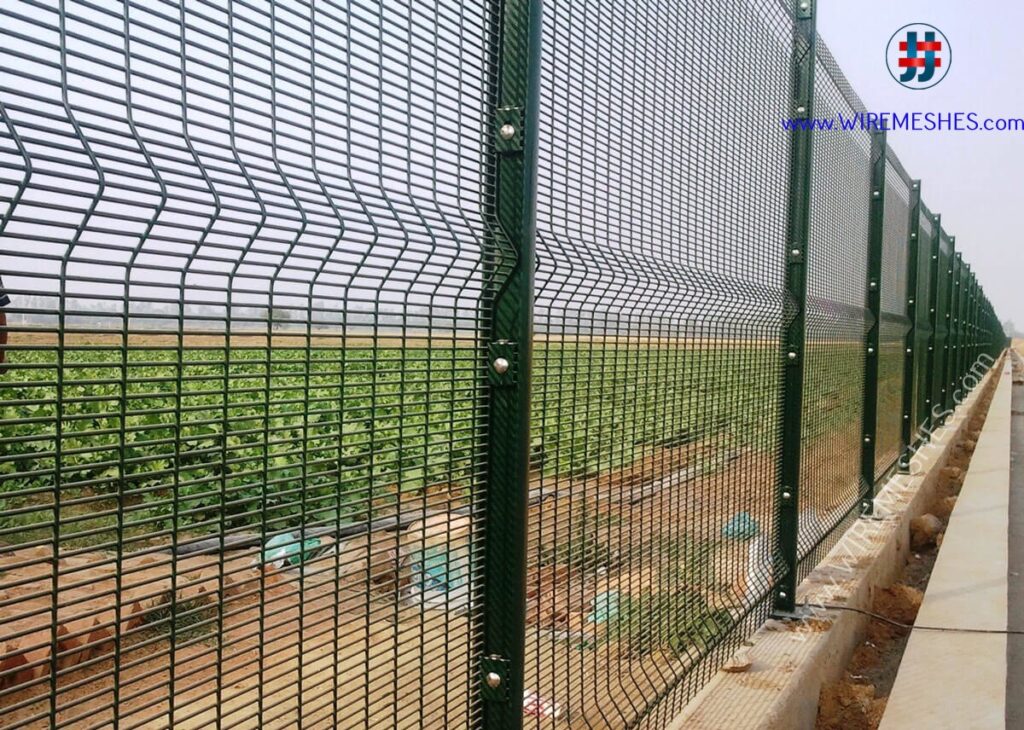
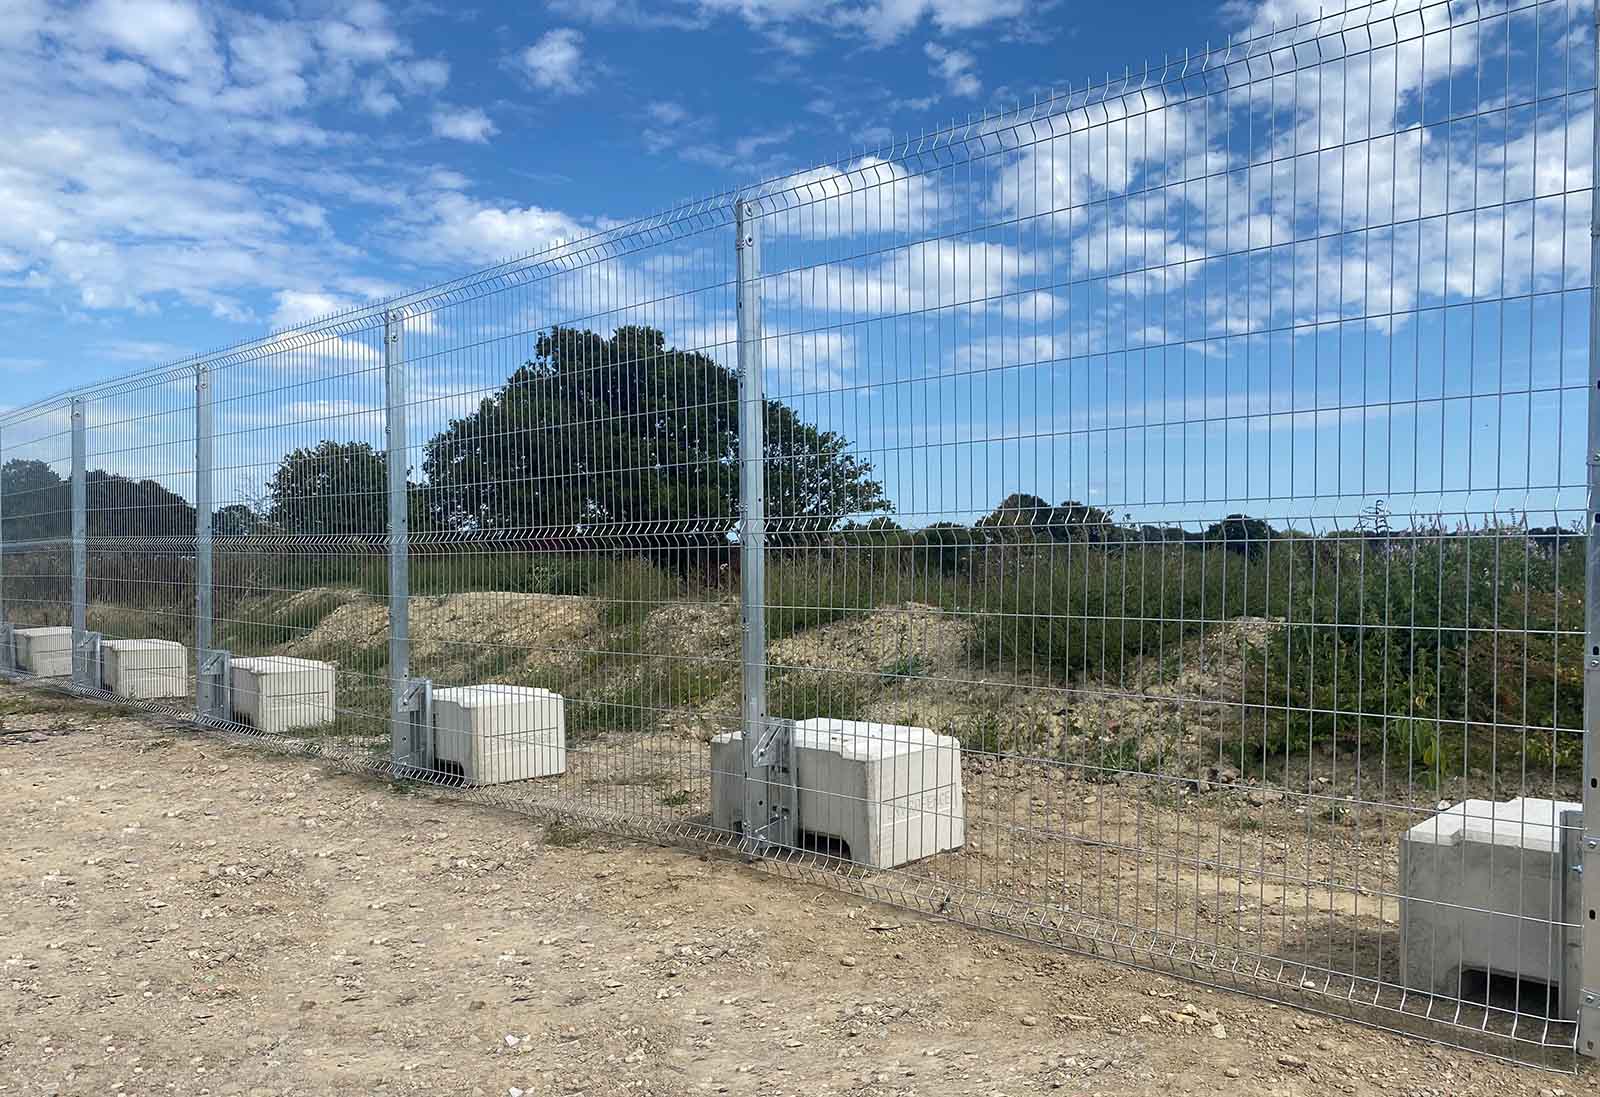
Proper mesh fencing and scaffolding mesh installation is a critical safety requirement in construction and property development. These essential barriers protect workers, prevent accidents, and secure properties from unauthorised access.
This guide delivers practical installation techniques for both mesh fencing and scaffolding mesh applications. You’ll learn:
- Property boundary assessment and local regulation compliance
- Post-hole digging methods for maximum stability
- Mesh attachment techniques for lasting durability
- Debris netting benefits and installation best practices
- Environmental considerations during installation
Whether you’re a professional contractor or a DIY enthusiast, these installation tips ensure your mesh structures meet safety standards and deliver long-term performance. Let’s explore the essential steps for successful mesh installation projects.

1. Mesh Fencing Installation Tips
Successful mesh fencing installation starts with thorough planning and precise execution. Here’s what you need to know about getting started with your mesh fencing project.
Planning for Mesh Fencing
Local council regulations dictate specific requirements for fence height, setbacks, and materials. Check these requirements:
- Maximum fence heights for front, side, and rear boundaries
- Minimum distances from property lines
- Specific material restrictions or requirements
- Heritage overlay considerations
- Required permits and documentation
Read about reo bar at: Where to Buy Reo Bar for Small and Large Construction Projects
Property Boundary Considerations
Accurate property boundary marking prevents costly mistakes and neighbour disputes:
- Obtain current property surveys
- Mark boundary points with stakes
- Consult neighbours before installation
- Document existing structures or obstacles
- Consider shared fencing agreements
Material Selection Guidelines
Choose mesh fencing materials based on:
- Security requirements
- Budget constraints
- Environmental conditions
- Aesthetic preferences
Popular mesh options include:
- Galvanised steel mesh
- PVC-coated wire mesh
- Chainlink fencing
- Welded wire panels
Size and Dimension Planning
Calculate your fencing needs:
- Measure total perimeter length
- Account for gates and access points
- Add 10% extra for slopes and corners
- Consider post spacing requirements
- Plan for concrete footings depth
Tools and Equipment Checklist
Essential items for installation:
- Post hole digger
- Spirit level
- String line
- Measuring tape
- Concrete mix
- Wire tensioners
- Fence pliers
- Safety equipment
Proper planning sets the foundation for a successful mesh fencing project. Each element requires careful consideration to ensure compliance, durability, and functionality. Read more about durability on https://pmc.ncbi.nlm.nih.gov/articles/PMC8503610/

Post Hole Digging
Proper post hole digging creates the foundation for a stable, long-lasting mesh fence. The depth and width of your post holes directly impact the fence’s durability and resistance to environmental forces.
Essential Post Hole Dimensions:
- Depth: Dig holes 1/3 of the post height plus 30cm for frost protection
- Width: Make holes 3 times the post diameter
- Spacing: Position holes 2-3 metres apart for optimal support
Digging Techniques for Maximum Stability:**
- Use a power auger for uniform, circular holes
- Create bell-shaped bottoms to resist frost heave
- Remove loose soil and debris from hole bases
- Check holes are plumb using a spirit level
Concrete Setting Methods:**
- Mix concrete to a thick, workable consistency
- Pour concrete while holding posts in position
- Fill holes in layers, tamping each layer firmly
- Add gravel at the base for drainage
- Allow 24-48 hours for initial concrete cure
Tips for Post Alignment:**
- Use string lines between end posts
- Brace posts temporarily during concrete setting
- Check post levels frequently during installation
- Keep posts damp during concrete curing in hot weather
The concrete mix ratio should be 1:2:4 (cement:sand:aggregate) for optimal strength. Add water gradually to achieve the right consistency – the mix should be firm but workable.
Mesh Attachment Techniques
Proper mesh attachment creates a secure, long-lasting fence installation. Here’s how to achieve professional results:
Tension Band Installation
- Position tension bands at 30cm intervals along fence posts
- Tighten bands gradually in alternating patterns
- Check tension uniformity with a tension meter
- Adjust band placement to accommodate terrain changes
Panel Securing Methods
- Use galvanised wire ties between tension bands
- Install tie wires at 45-degree angles for added strength
- Double-wrap corners and high-stress points
- Leave 2mm spacing between panels for thermal expansion
Gate Hardware Setup
- Mount hinges at 1/3 points of gate height
- Install drop rods for gates wider than 1.2m
- Add rubber bump stops to prevent over-swing
- Use anti-lift devices on all gate installations
Quality Control Checks
- Test mesh tension by applying moderate pressure
- Verify all fixings are properly tightened
- Ensure panels align correctly with no gaps
- Check gate swing and latch engagement
A properly attached mesh fence resists tampering and weathering while maintaining its appearance. Regular tension checks during the first month help identify any settling issues that require adjustment. Click here to find more about tension.
2. Scaffolding Mesh Installation Tips
Scaffolding mesh is an essential safety feature on construction sites, protecting both workers and pedestrians from potential dangers. Installing it correctly is crucial for ensuring everyone’s safety.
Key Safety Requirements:
- Mesh must cover all exposed scaffolding areas
- Installation height should extend a minimum of 2 metres above working platforms
- Secure attachment points every 1.5 metres
- Regular inspection of fixing points and mesh integrity
- Immediate replacement of damaged sections
Installation Best Practices:
- Start from the bottom and work upwards
- Overlap sections by at least 100mm
- Use UV-resistant cable ties at designated intervals
- Ensure tight securing without creating stress points
- Check tension levels after extreme weather events
Properly installed scaffolding mesh provides effective protection against falling objects and tools. It allows for airflow while keeping the site secure, benefiting construction teams with better visibility to monitor outside conditions and potential risks.
Weather Protection Features:
- Wind speed reduction up to 50%
- Rain deflection capabilities
- UV protection for workers
- Temperature regulation through ventilation
- Dust containment properties
To maintain optimal tension and prevent sagging, it’s important to strategically place fixing points in the mesh system. Regular inspections will help identify areas that need adjustment or replacement, ensuring safety standards are upheld throughout the project.
Essential Tools for Installation:
- Heavy-duty cable ties
- Wire cutters
- Safety gloves
- Tension measuring tools
- Inspection checklist
- Replacement fixings
Material Composition of Debris Netting
UV-stabilised HDPE netting is the industry standard for safety barriers on construction sites. This high-performance material is incredibly durable thanks to its unique molecular structure, which makes it resistant to both falling debris and harsh weather conditions.
Key Features of UV-Stabilised HDPE Netting:
- Resistant to UV degradation, ensuring long-lasting strength
- High tensile strength to prevent tearing and ripping
- Lightweight for easy handling during installation
- Chemical resistance against common construction materials
- Colour retention properties for maintaining visibility
Installation Methods for Maximum Security:
- Zip-Tie AttachmentPlace ties at 45cm intervals
- Double-secure critical points
- Use UV-resistant ties to match netting lifespan
- Cable-Wire SystemThread steel cable through mesh perimeter
- Tension cables at anchor points
- Secure with turnbuckles for adjustability
- Hook-and-Loop FasteningApply strips at strategic points
- Create access points for maintenance
- Reinforce high-stress areas
The flexibility of this material allows it to be custom-fitted around complex scaffolding structures while still providing effective protection. Professional installers recommend using multiple attachment methods at critical points to ensure complete coverage and security.
General Installation Practices for Both Mesh Types
Secure fastening methods play a vital role in mesh installation success. Use high-quality fixings and fasteners rated for outdoor use to prevent corrosion and structural failure. Double-check all connection points during installation to ensure they can withstand heavy winds and storms.
Key environmental considerations:
- Protect existing vegetation by creating buffer zones around trees and plants
- Install temporary barriers to shield wildlife habitats during construction
- Choose installation times that minimise disruption to local fauna
- Remove all installation debris to prevent harm to wildlife
Regular inspection of fastening points helps identify potential issues before they become serious problems. Schedule maintenance checks after severe weather events to verify the integrity of all mesh installations.


Leave a Reply